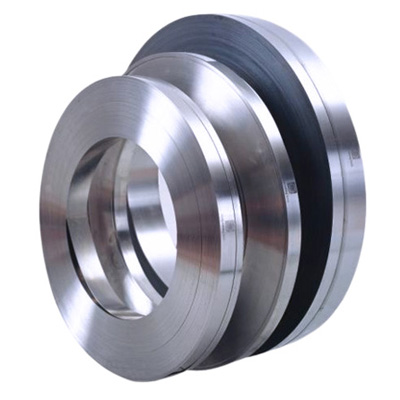
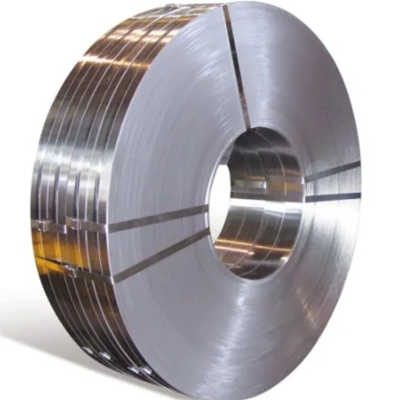
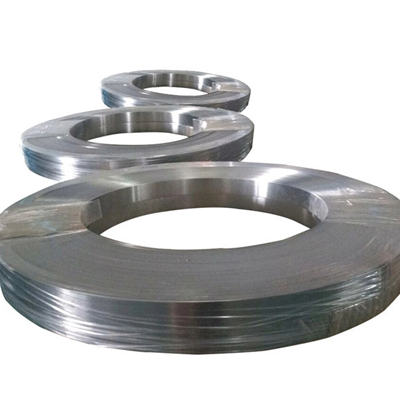
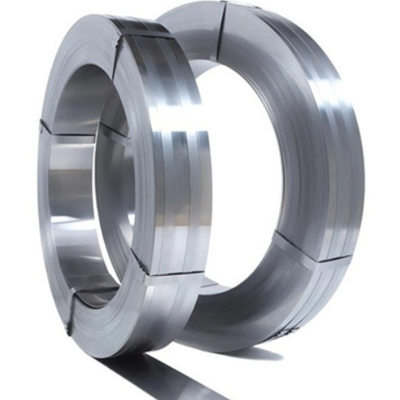
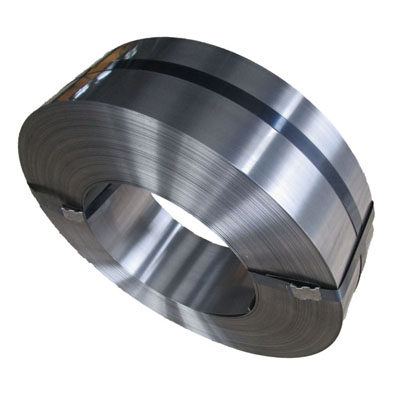
Flapper Valve Steel
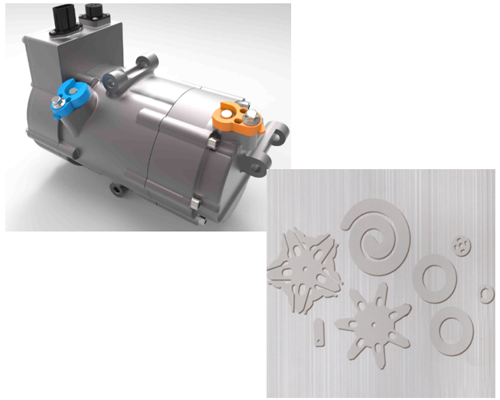
Stamping or punching shops and manufacturers of compressor valves rely on valve flap steel for compressors that is fatigue-resistant and which can be easily processed. The quality of cooling units and air conditioners is based to a large extent on the quality and robustness of the valve flaps in the compressors. Baomit strip steel meets the demands made by compressor manufacturers and consumers on the quality of the valve flap material.
| Parameters | Recommendation |
| Thickness Tolerance | T3 |
| Roughness | Class 3 |
| Flatness | Class 3 |
| Surface | White Polished |
| Edges | Slit / deburred |
| Hardness | 48 – 52 HRC |
| Steel Grade | SK4, C100S, 1095, 95Cr1, 420J2, 440 |
Our Advantages
• Excellent fatigue resistance
• Excellent punching and stamping properties
• Precise thickness and width tolerances
• Maximum straightness deviation of 1 mm / 3 m
• Good surface finish
• Consistent, uniform microstructure
Steel Grades
| Comparison of Norms | ||
| EU / EN | USA / AISI | Chemical Composition |
| C100S | 1095 | C: 0.95-1.05, Si: 0.15-0.35, Mn: 0.30-0.60, Ni: max 0.40, P: max 0.025, S: max 0.025, Cr: max 0.40, Mo: max 0.10 |
| 95Cr1 | / | C: 0.90-1.00, Si: 0.15-0.30, Mn: 0.20-0.40, P: max 0.025, S: max 0.025, Cr: 0.30-0.40 |
| SK4 – SK95M | C: 0.90-1.00, Si: 0.10-0.35, Mn: 0.10-0.50, Ni: max 0.25, P: max 0.03, S: max 0.03, Cr: max 0.30, Cu: max 0.25 | |
| 420J2 | C: 0.26-0.40, Si: max 1.0, Mn: max 1.0, Ni: max 0.60, P: max 0.04, S: max 0.03, Cr: 12.0-14.0 | |
Thickness Tolerances
| Thickness (mm) | Tolerances ± mm | ||||
| T1 | T2 | T3 | T4 | T5 | |
| 0.020 – 0.040 | 0.004 | 0.003 | 0.002 | – | – |
| 0.040 – 0.100 | 0.006 | 0.005 | 0.004 | 0.003 | 0.002 |
| 0.100 – 0.125 | 0.007 | 0.005 | 0.004 | 0.003 | 0.002 |
| 0.125 – 0.160 | 0.009 | 0.006 | 0.005 | 0.004 | 0.003 |
| 0.160 – 0.200 | 0.010 | 0.007 | 0.005 | 0.004 | 0.003 |
| 0.200 – 0.250 | 0.011 | 0.008 | 0.006 | 0.004 | 0.003 |
| 0.250 – 0.400 | 0.015 | 0.011 | 0.008 | 0.006 | 0.004 |
| 0.400 – 0.600 | 0.020 | 0.014 | 0.010 | 0.007 | 0.005 |
| 0.600 – 0.800 | 0.023 | 0.017 | 0.012 | 0.008 | 0.006 |
| 0.800 – 1.000 | 0.027 | 0.019 | 0.013 | 0.009 | 0.007 |
| 1.000 – 1.250 | 0.034 | 0.024 | 0.017 | 0.012 | 0.008 |
| 1.250 – 1.600 | 0.039 | 0.028 | 0.020 | – | – |
| 1.600 – 1.750 | 0.046 | 0.033 | 0.023 | – | – |
Width Tolerances
| Thickness (mm) | Width (mm) | Tolerances ± mm | ||
| W1 | W2 | W3 | ||
| ≤0.25 | ≤50 | 0.10 | 0.07 | 0.05 |
| 50 – 125 | 0.15 | 0.11 | 0.07 | |
| >125 | 0.20 | 0.15 | 0.10 | |
| 0.25 – 0.50 | ≤50 | 0.15 | 0.11 | 0.07 |
| 50 – 125 | 0.20 | 0.15 | 0.10 | |
| >125 | 0.25 | 0.20 | 0.15 | |
| 0.50 – 1.00 | ≤50 | 0.20 | 0.15 | 0.10 |
| 50 – 125 | 0.25 | 0.20 | 0.15 | |
| >125 | 0.30 | 0.25 | 0.15 | |
| 1.00 – 1.60 | ≤50 | 0.20 | 0.15 | 0.10 |
| 50 – 125 | 0.30 | 0.25 | 0.15 | |
| >125 | 0.35 | 0.25 | 0.20 | |
| 1.60 – 1.75 | ≤50 | 0.30 | 0.20 | 0.15 |
| 50 – 125 | 0.35 | 0.30 | 0.20 | |
| >125 | 0.40 | 0.30 | 0.20 | |
Surface Roughness
Available in white polished, blue polished and yellow.
| Thickness (mm) | Roughness | ||
| Class 1 | Class 2 | Class 3 | |
| ≤0.50 | Ra≤ 0.30 µm Rt≤ 3.00 µm | Ra≤0.25 µm Rt≤ 2.50 µm | Ra≤ 0.20 µm Rt≤ 2.00 µm |
| 0.50 – 1.00 | Ra≤ 0.35 µm Rt≤ 3.50 µm | Ra≤ 0.25 µm Rt≤ 2.50 µm | Ra≤ 0.20 µm Rt≤ 2.00 µm |
| 1.00 – 1.75 | Ra≤ 0.40 µm Rt≤ 4.00 µm | Ra≤ 0.30 µm Rt≤ 3.00 µm | Ra≤ 0.30 µm Rt≤ 3.00 µm |
Flatness Deviation
Maximum flatness deviation per inch strip width.
| Thickness (mm) | Flatness Deviation | |||
| Class 1 | Class 2 | Class 3 | Class 4 | |
| 0.02 – 0.10 | P60 | P50 | P40 | P30 |
| 0.10 – 0.25 | P50 | P40 | P30 | P20 |
| 0.25 – 0.50 | P40 | P30 | P20 | P10 |
| 0.50 – 1.75 | P35 | P25 | P15 | P10 |
Straightness Deviation
| Strip Width (mm) | Measured Length (3m) | ||
| Class 1 | Class 2 | Class 3 | |
| ≤50 | 3 mm | 2 mm | 1 mm |
| 50 – 125 | 3 mm | 2 mm | 1 mm |
| >125 | 3 mm | 2 mm | 1 mm |
Hubei Baomit Steel Materials Co., Ltd.
ISO 9001: 2015 Certified Manufacturer of Hardened and Tempered (H & T) Strip Steel

